View Cart

Payments Accepted
Payment methods: Paypal / Credit / Debt Card
Card payment details are 100% secure as they are handled direct by Paypal.
We never sell or pass on details of our customers.

Discounts
£0 to £20 - 0%
£20 to £40 - 10%
£40 to £60 - 15%
£60 to £100 - 20%
Over £100 - 25%

All discounts are applied in the shopping cart

Instructions for applying pre-spaced lettering
using transfer film.
Before you start ensure that the material the letters are to be stuck on is free of dirt, grease and is clean and dry.
|
|
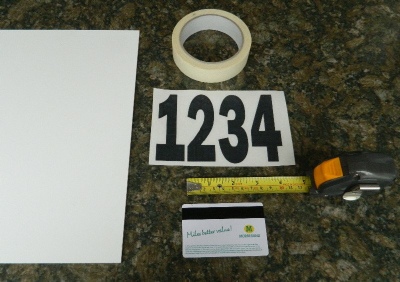
Step 1 The following list of the items will |
|
|
|
|
|
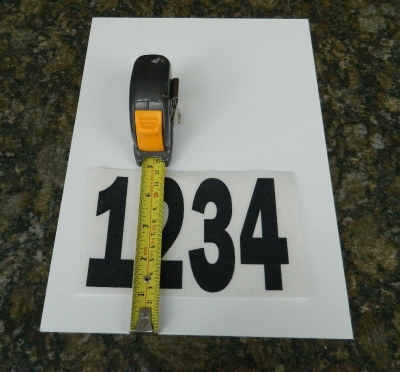
Step 2 Measure up from the bottom of the panel to ensure that the lettering is horizontal. |
|
|
|
|
|
Step 3 Measure from the left and right hand edges of the panel to ensure that the lettering is central. |
|
|
|
|
|
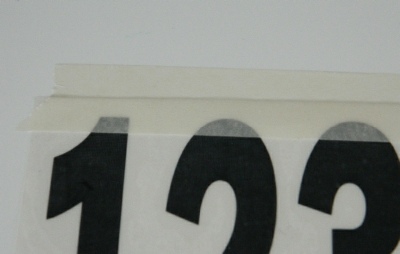
Step 4 Apply a strip of masking tape to the top edge of the letters, this will then form a hinge for the later stages. |
|
|
|
|
|
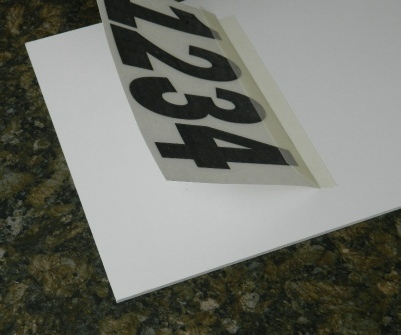
Step 5 The masking tape hinge is now used to lift the letters over 180 degrees so that the backing paper for the lettering is now showing. |
|
|
|
|
|
Step 6 Peel back the backing paper for the lettering until its removed completely. |
|
|
|
|
|
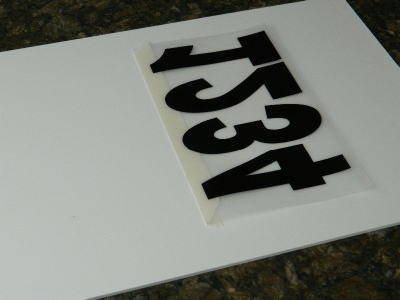
Step 7 With the backing paper removed we are now ready to apply the letters. |
|
|
|
|
|
Step 8 Lift the application film up using the hinge, using the edge of the plastic card smooth the lettering down working away from the hinged side. Be firm when using the card to force out the air as you go. |
|
|
|
|
|
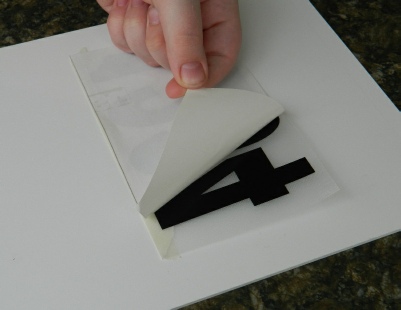
Step 9 Gently peel back the application film checking as you go that the letters are applied. |
|
|
|
|
|
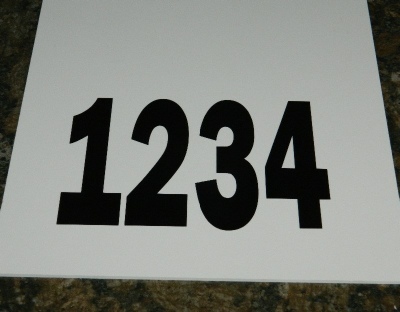
Step 10 Finished ! |